
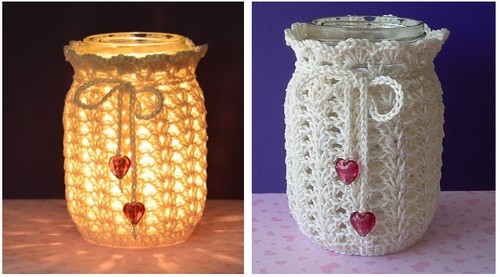
How to crochet a jar cover - Pattern
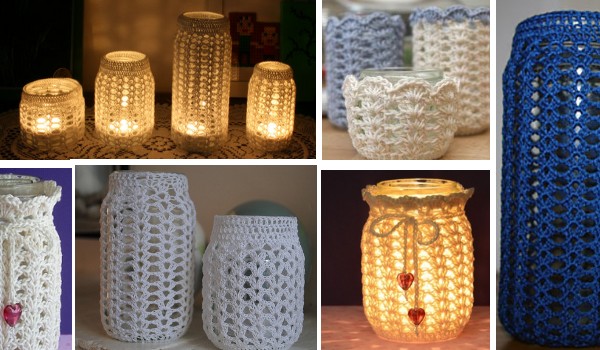
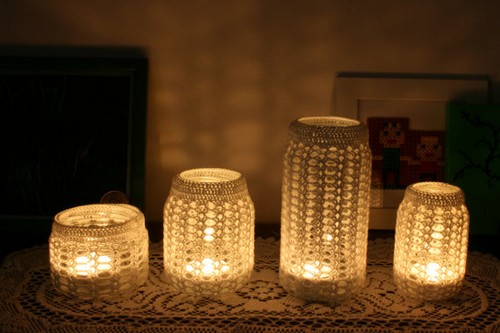
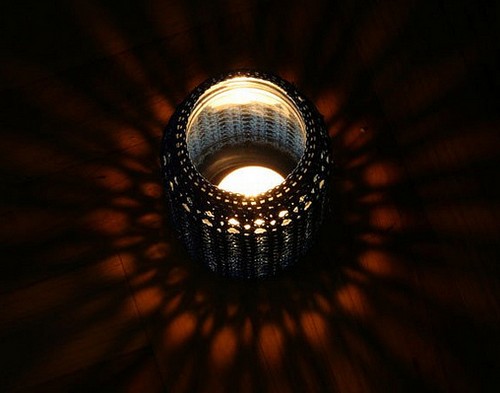
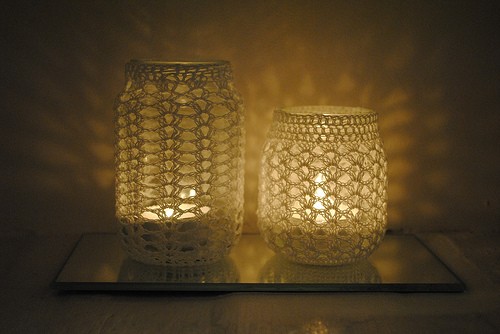
See how you can, in an easy way, turn your glass bottles (jars) in beautiful candelabrum, just making a crocheted cover.
It is a very beautiful work!
Watch the tutorial video, where are explained two different ways to make these jar cover lined in crochet. Or see the written pattern below.
Written Pattern:
Ch 52 (or 8n + 4, where n= number of pattern repeats)
R1: 2dc in 4th ch from hook, *ch3, sk 3 ch, sc, ch3, sk 3 ch, 5dc in next ch, repeat from * to end, ending with 3dc in final ch. Ch4, turn (counts as sc, ch 3).
R2: *sc in ch-sp, ch4, sc in next ch-sp, ch3, sc in centre dc of 5dc group, ch3, repeat from * to end, ending with an sc in top of turning ch. Ch3, turn.
R3: 2dc in sc, *ch3, sk 1 ch-sp, sc in next ch-sp, ch3, 5 dc in next sc, repeat from * to end, ending with 3 dc in very last turning ch. Ch 4, turn (counts as sc, ch 3).
Repeat rows 2-3 until the piece is tall enough. End with a row 3, but you may wish to modify it as follows (so that the top is tight enough to grip the curve of the jar).
Final R3: 2dc in sc, *ch2, sk 1 ch-sp, sc in next ch-sp, ch2, 5 dc in next sc, repeat from * to end, ending with 3 dc in very last turning ch.
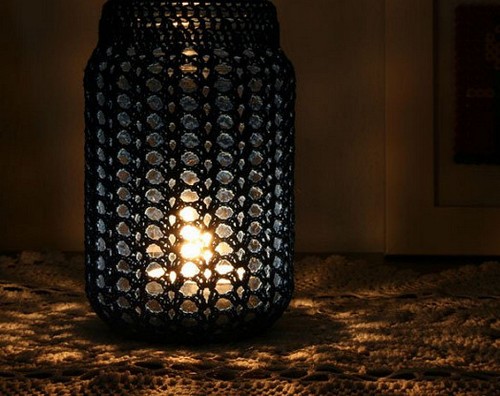
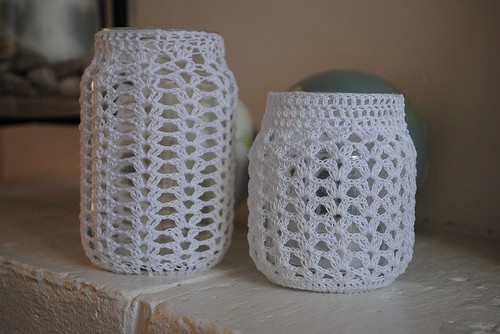
Close up of Shells and Lace pattern
Finishing:
If your piece is the exact right size, fasten off with a long tail. Use the tail to sew the 1st and last dc’s of each row together to hide the join. Weave in all ends.
If your piece is a little small, do not fasten off. Ch 1 and turn, then sc evenly down the sides to add width. Do this until the piece is the right size. Then either seam together and add decorative buttons, or sc down the other side also and add button loops for a closure.
Explanations on vídeo:
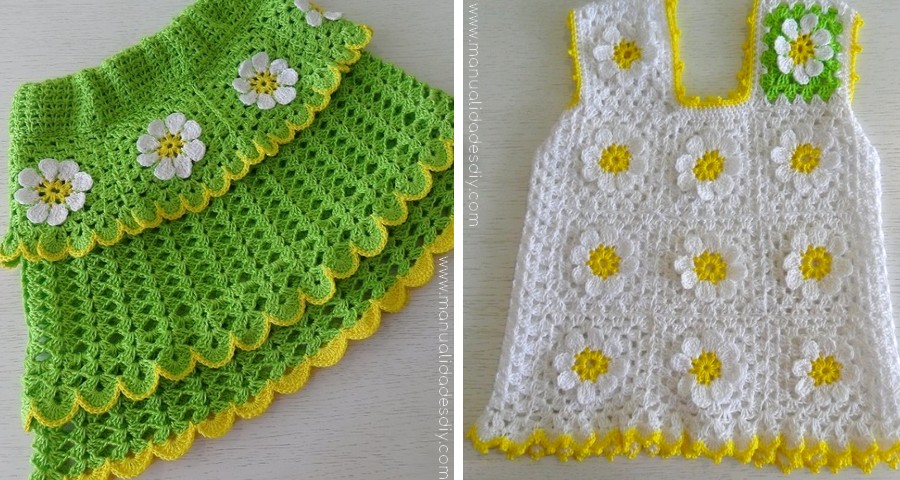
Crochet skirt and blouse set for girl
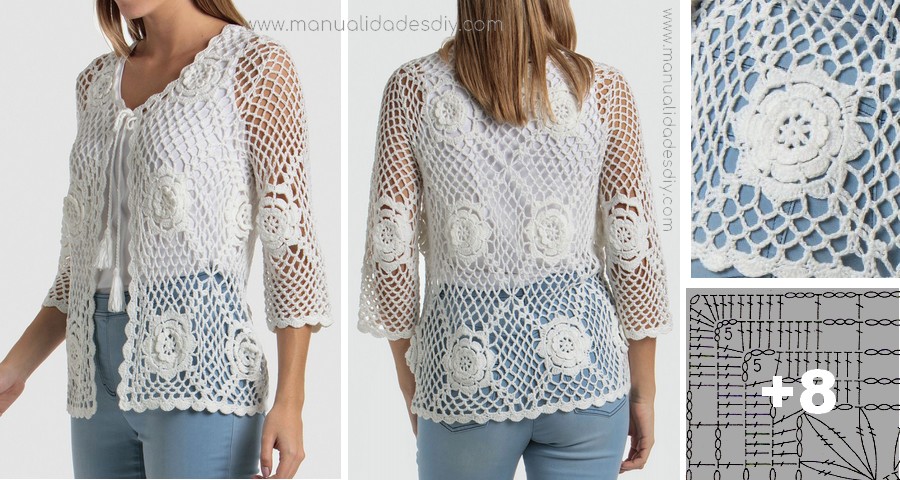
Creating a crochet coat whit a beautiful crochet pattern
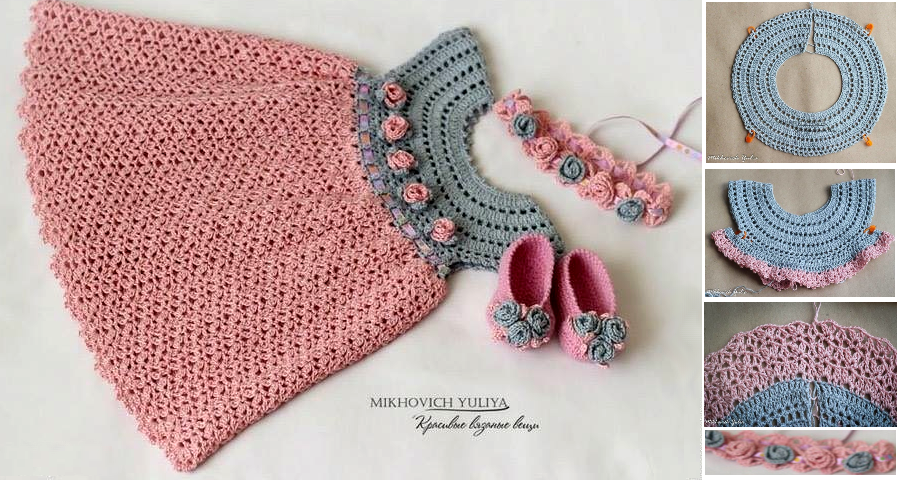
Gorgeous Crochet Girl Dress - Step by Step
Leave a Reply
Related posts