
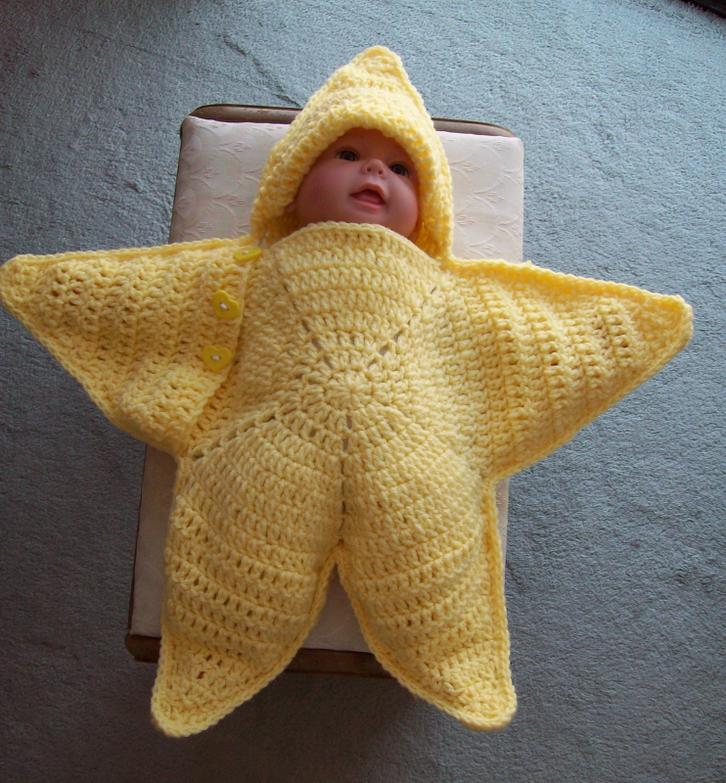
Baby crochet/knitting cocoons - with pattern
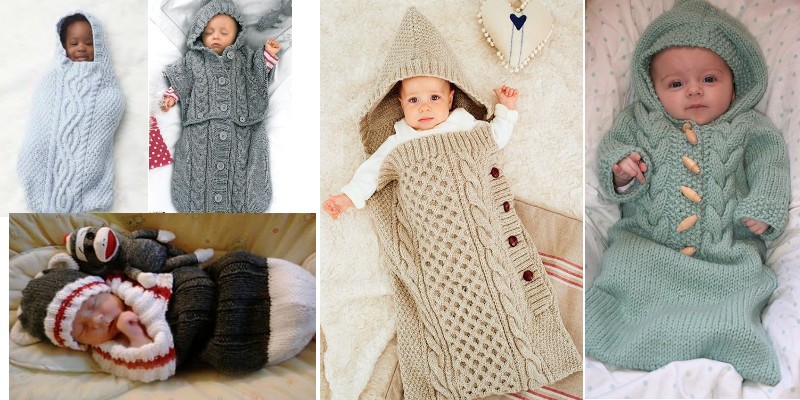
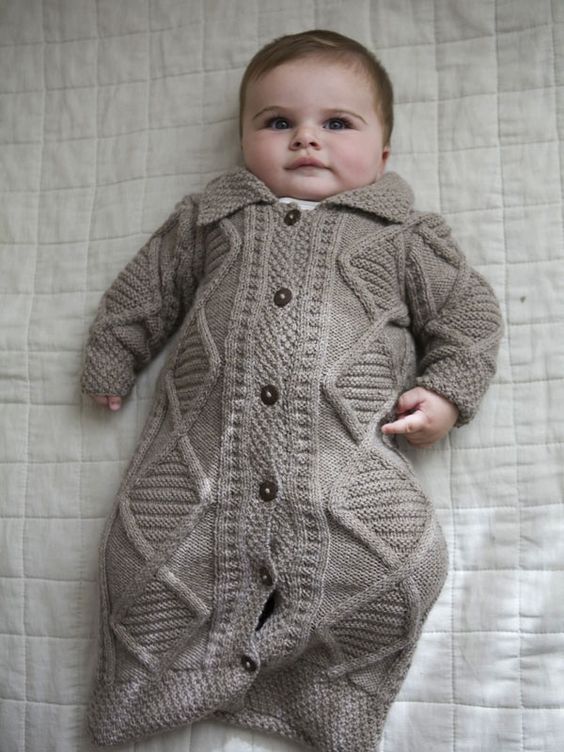
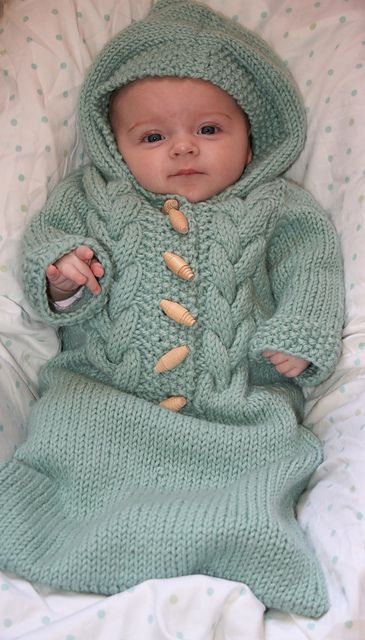
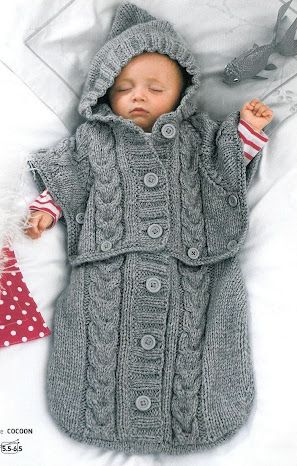
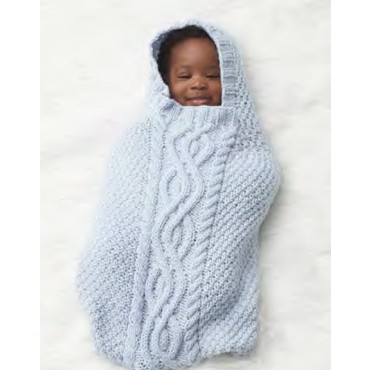
Baby crochet/knitting cocoons are very popular among moms, these days.
See beautiful photos for inspirations and learn how to make a baby cocoon star shaped, see further in this article.
Great gifts for the crochet crafter. 🙂
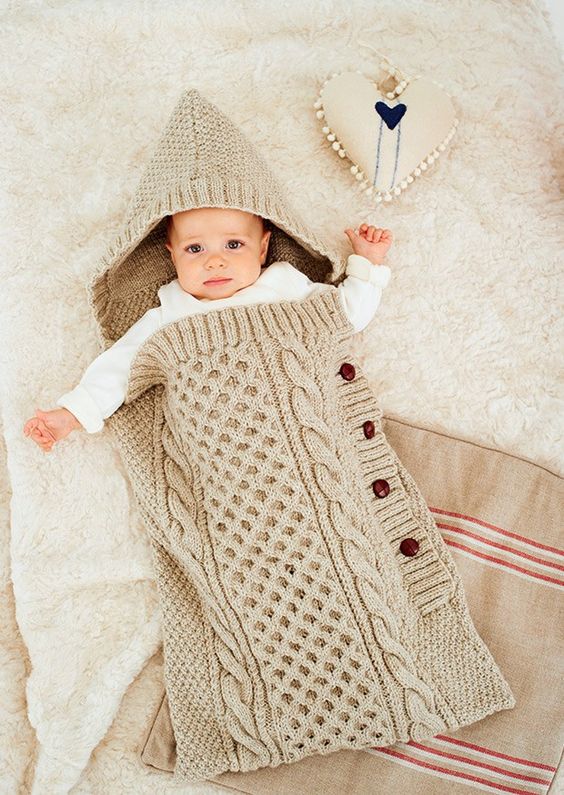
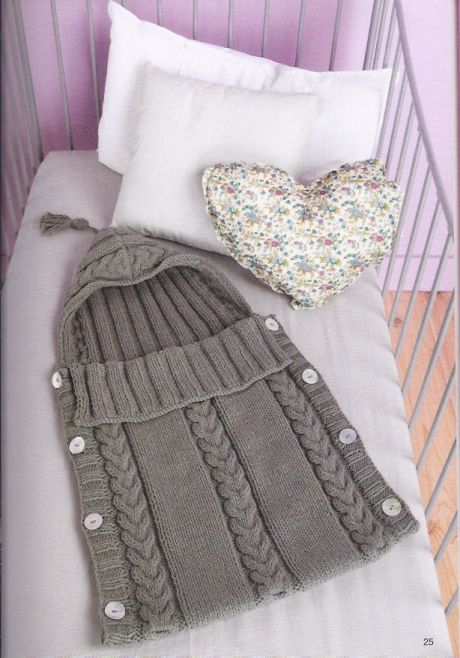
These cuddly cocoons for babies are so cozy, which makes you want to do them all, right?
Sleeping Bag Cocoon Set Crochet Pattern. For More Creative Inspiration...


Free baby star crochet pattern
This is a simple and beautiful baby cocoon free pattern whit star shape, See below.
With yellow WW yarn and a 5mm hook
Pentagons: make 2
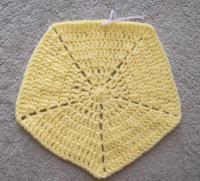
Row 1: ch 3, 9 hdc in 3rd ch from hook. (10 dc)
Row 2: ch 4. *2 dc in next 2 dc, ch 1* repeat to last dc, 2dc in last dc, dc in beginning st. join to 3rd ch of 4. (20 dc, 5ch 1 sp)
NOTE: Each row from here on begins with that ch 4 and working each of the five segments of the pentagon. Ea. Segment ends with another dc in the beginning st… just so you know
Row 3: Ch 4, 2dc in next dc, dc in next 2 dc, 2dc in next dc, ch 1* repeat to end allowing for pattern notes.
Row 4: ch 4, 2dc in next dc, dc in next, 2 dc in next 2, dc in next, 2dc in next, ch 1* repeat to end allowing for pattern notes.
Row 5: ch 4, * 2dc in next dc, dc in next 2, 2dc in next, dc in 2, 2dc in next, dc in 2, 2dc in next dc, ch 1* repeat to end allowing for pattern notes.
Row 6: ch 4, * 2dc in next, dc in 12, 2dc in next 2, ch 1* repeat to end allowing for pattern notes.
Row 7: ch 4, * 2dc in next, dc in 14, 2dc in next 2, ch 1* repeat to end allowing for pattern notes.
Row 8: ch 4, * 2dc in next, dc in 16, 2dc in next 2, ch 1* repeat to end allowing for pattern notes.
Break off and tidy all ends.
Mark your 2 pentagonal shapes as…
- Front upper
- Back
Working the back pentagon…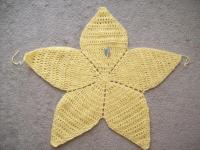
Lay the pent with a flat side at the top and put a marker there just to keep yourself oriented.
On each of the 4 sides ( not the marked side) work as follows..
Work 2 rows evenly across the edge.
Work one decrease on each side until you have 4 sts. … dc in 1st, dc dec, dc in last break off.
Repeat this for the other 3 non- marked edges.
The marked edge…hat portion
Att yarn in end st.
Row 1: [Dc in 3, 2 dc in next, ] twice, dc in 4, [2dc in next, dc in 3] twice
Row 2: dc evenly across
Row3-5, dc in 1st, dc dec in next, dc to last 3 sts, dc dec, dc in last.
Row 6: dc in 1st, dc dec in next, dc in 3, dc dec, dc in 4, dc dec, dc in 3, dc dec, dc in last.
Row 7: dc in 1st, dc dec, dc in 3, dc dec twice, dc in 3, dc dec, dc in last
Row 8 – 11: continue as with other points.
The front Pentagon...
Mark your upper flat edge just to keep yourself oriented properly.
Work the two lower edges and the edge immediately to the right (as viewed) of your marked edge as you did the same points on the back pentagon.
The open edge…
Work 2 rows of dc evenly. Break off and tidy all ends. (22 dc per row)
The sleeve…
Chain 24…
Row 1: dc in 4th ch from hook and each ch across (22dc)
Work the remaining rows as you did for the other ‘points’.
The hat section…
Ch 30..
Row 1: dc in 4th ch from hook and each ch across (28 dc)
Row 2: dc evenly across (28 dc)
Row 3: dc in 1st dc, dc dec in next, dc to last 3 sts, dc dec , dc in last (26 dc)
Row 4-6: work as row 3 with on extra dec in the middle.
Row 7: work as row 3 but make 2 dec in the middle.
Row 8: work as row 4.
Continue as for other points. Break off and tidy all ends.
Stitching the parts together…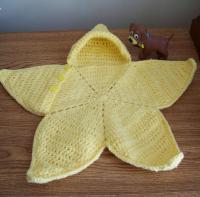
Notes:
I want to be able to put an edging row on the ‘hat’ portion so I am going to begin joining at the right side (as viewed) edge of the hat so that I will end up at that point.
I’m using sc for the edging because I want the emphasis that it provides.
For each point.. work 3 hdc in the centre dcs to form a nice point.
so…
Align the hat piece to the hat point of the back and join the edges with sc…
Align the loose arm piece with the adjoining back portion and join with sc.
Continue by adding the front portion and working around the other points joining all with sc as established.
When you get back to the start, turn your suit so that you can work a Crab st. across the ‘hat’ edge.
Add buttons to the opening edge. I did not make buttonholes as the dc fabric allowed my buttons to go through naturally.
Copyright: Darlene Cutler - 2010
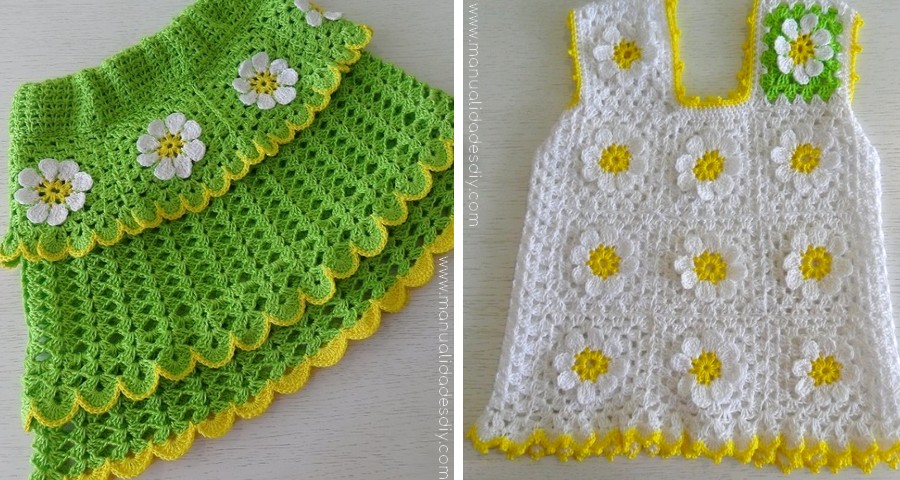
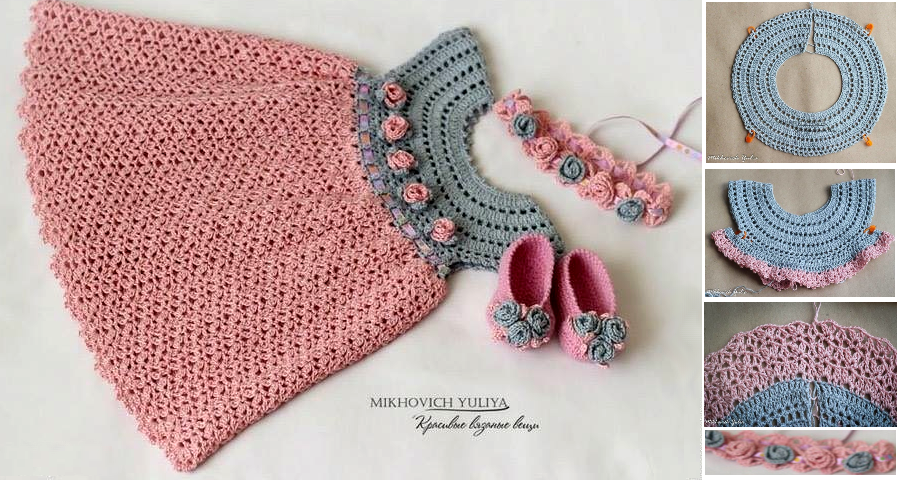
Crochet skirt and blouse set for girl
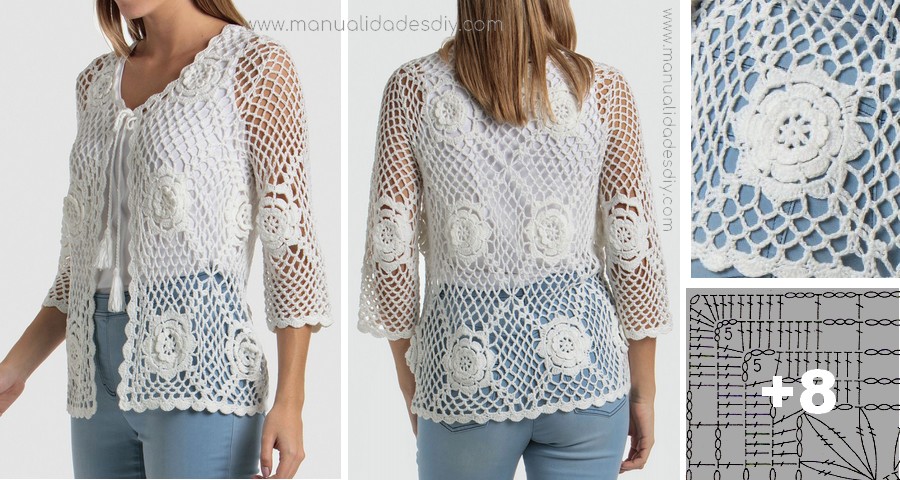
Creating a crochet coat whit a beautiful crochet pattern
Gorgeous Crochet Girl Dress - Step by Step
Leave a Reply
Related posts