
Baby crochet sandals creations

Beautiful baby shoe creation. See the pattern and do it for your baby!!
Even though these are adorable and pink, they would definitely work for a baby boy as well. And, these actually stay on quite well. This is important when designing baby shoes. If they don’t stay on, what’s the point!?
What you need:
Medium Weight Yarn (KnitPicks Brava Dove Heather and Cornflower)
Size F hook
Yarn Needle
Abbreviations: (American Terms)
Ch – Chain
Sl st – Slip Stitch
St – stitch
Sk – Skip
Ch – chain
Sc – Single crochet
Dc –Double Crochet
Hdc – Half Double Crochet
Get the Downloadable PDF for $1.50
Table
0-3 months (approx. 3 ½”)
Sole: Make 2 (Worked in the round)
1. Ch 9. Work 3 sc in 2nd ch from hook, sc in next 3 chs, hdc in next ch, dc in next 2 chs, 7 dc in last ch.Working across opposite side: Dc in next 2 chs, hdc in next ch, sc in next 3 chs. (22 sts) Place stitch marker and move it up with each round.
2. 2 sc in the next 3 sts. Sc in next 7 sts. 2 sc in next 5 sts. Sc in next 7 sts. (30 sts)
3* Sc in next st, 2 sc in next st * work 3 times. Sc in next 7 sts. *Sc in next st, 2 sc in next st* work 5 times Sc in next 7 sts. (38 sts) Tie off.
Line two sole pieces together with wrong sides facing together. With second color use a loose tension and sl st all around your sole piece, sewing them together. You will be working through 4 loops (2 from each sole). See Photo 1. Tie off. Find the middle of the heel.
Body:
1. Counting the sl sts, count 7 to the right. Join your second color. Ch 1. Sc in same st. Sc 2. (See Photo 2) Ch 7. (See Photo 3) Sk 8 sts, sc in next st. (See Photo 4) Sc 2. Ch 14. (See Photo 5). Join with a sl st with the very first st of the round. (See Photo 6) (Make sure your chain isn’t twisted.)
2. Ch 1. Sc in same st. Sc 26 (across the heel, up the side and all across your toe piece chain.). Join with sl st. (See Photo 7) Tie off.
Toe Strap (Make 2): Start with an 8” tail. This is a separate piece.
1. Ch 3. Sc into 2nd ch from hook. Sc 1. Turn.
2. – 7. Ch 1. Sc into same st. Sc 1. Turn (Don’t turn after the 7th row.)
8. Sc in same st. Turn 90 degrees. Work 5 sc across the side. Sc 2 in last st. Sc in the other corner. Tie off. Leave a long tail.
3-6 Months (approx. 4 “)
Sole: Make 2 (Worked in the round)
1. Ch 11.
Work 3 sc in 2nd ch from hook, sc in next 4 ch, hdc in next ch, dc in next 3 ch, 7 dc in last ch. Working across the opposite side: dc in next 3 ch, hdc in next ch, sc in next 4 chs. (26 sts) Place marker, and move up each round.
2. 2 sc in next 3 sts. Sc in next 9 sts. 2 sc in next 5 sts. Sc in next 9 sts. (34 sts)
3.*Sc in next st, 2 sc in next st* work 3 times. Sc in next 9 sts. *Sc in next st, 2 sc in next st* work 5 times. Sc in next 9 sts. Sl st and tie off. (42 sts)
Line two sole pieces together with wrong sides facing together. With second color use a loose tension and sl st all around your sole piece, sewing them together. You will be working through 4 loops (2 from each sole). See Photo 1. Tie off. Find the middle of the heel.
Body:
1. Counting the sl sts, count 8 to the right. Join your second color. Ch 1. Sc in same st. Sc 2. (See Photo 2) Ch 8. (See Photo 3) Sk 9 sts, sc in next st. (See Photo 4) Sc 2. Ch 16 (See Photo 5). Join with a sl st with the very first st of the round (See Photo 6). (Make sure your chain isn’t twisted.)
2. Ch 1. Sc in same st. Sc 29 (across the heel, up the side and all across your toe piece chain.). Join with sl st (See Photo 7). Tie off.
Toe Strap (Make 2): Start with an 8” tail. This is a separate piece.
1. Ch 3. Sc into 2nd ch from hook. Sc 1. Turn.
2.- 8.Ch 1. Sc into same st. Sc 1. Turn (Don’t turn after the 8th row.)
9.Sc in same st. Turn 90 degrees. Work 6 sc across the side. Sc 2 in last st. Sc in the other corner. Tie off. Leave a long tail.
6-9 months (approx. 4 ¼”)
Sole: Make 2 (Worked in the round)
1. Ch 12.
Work 3 sc in 2nd ch from hook, sc in next 4 chs, hdc in next ch, dc in next 4 chs, 7 dc in last ch. Working across the opposite side of chain: dc in next 4 chs, hdc in next ch, sc in next 4 chs. Place marker, and move up each round. (28 sts)
2. 2 sc in next 3 sts. Sc 10. 2 sc in next 5 sts. Sc 10. (36 sts)
3.*Hdc in next st, hdc 2 in next st* work 3 times. Hdc 10.*Hdc in next st, hdc 2 in next st* work 5 times. hdc 10. (44 sts)Join with a sl st and tie off.
Line two sole pieces together with wrong sides facing together. With second color use a loose tension and sl st all around your sole piece, sewing them together. You will be working through 4 loops (2 from each sole). See Photo 1.Tie off. Find the middle of the heel.
Body:
1. Counting the sl sts, count 8 to the right. Join your second color. Ch 1. Sc in same st.. Sc 2. (See Photo 2) Ch 9. (See Photo 3) Sk 11 sts, sc in next st. (See Photo 4) sc 2. Ch 18 (See Photo 5). Join with a sl st with the very first st of the round, on the other side. (See Photo 6) (Make sure your ch isn’t twisted)
2. Ch 1. Sc in same st. Sc 32 (across the heel, up the side and all across your toe piece chain. Make sure to work in both sts across the chains). Join with sl st. (See Photo 7) Tie off.
Toe Strap (Make 2): Start with an 8” tail. This is a separate piece.
1. Ch 3. Sc into 2nd ch from hook. Sc. Turn.
2. – 9. Ch 1. Sc into same st. Sc. Turn (Don’t turn after the 9th row)
10. Sc in same st. Turn 90 degrees. Work 7 sc across the side. Sc 2 in last st. sc 1 in the other corner. Tie off.
9-12 months (4 1/2″)
Sole: Make 2 (Worked in the round)
1. Ch 13.
Work 3 sc in 2nd ch from hook, sc in next 5 chs, hdc in next ch, dc in next 4 ch, 7 dc in last ch.
Working across the opposite side: dc in next 4 chs, hdc in next ch, sc in next 5 chs . (30 sts)
2. 2 sc in each of the next 3 sts. Sc in next 11 sts. 2 sc in each of the next 5 sts. Sc in next 11 sts. (38 sts)
3. *Hdc in next st, 2 hdc in next st* work 3 times. Hdc in next 11 sts. *Hdc in next st, 2 hdc in next st) work 5 times. Hdc in next 11 sts. (46 sts) Join with a sl st and tie off.
Line two sole pieces together with wrong sides facing together. With second color use a loose tension and sl st all around your sole piece, sewing them together. You will be working through 4 loops (2 from each sole). See Photo 1. Tie off. Find the middle of the heel.
Body:
1. Counting the sl sts, count 9 to the right. Join your second color. Ch 1. Sc in same st.. Sc 3. (See Photo 2) Ch 9. (See Photo 3) Sk 10 sts, sc in next st. (See Photo 4) Sc 3. Ch 19 (See Photo 5). (36 sts) Join with a sl st with the very first st of the round, on the other side. (See Photo 6) (Make sure your ch isn’t twisted)
2. Ch 1. Sc in same st. Sc 31 (across the heel, up the side and all across your toe piece chain. Make sure to work in both sts across the chains). (36 sts) Join with sl st. (See Photo 7) Tie off.
Toe Strap (Make 2): Start with an 8” tail. This is a separate piece.
Ch 3
1. Sc into 2nd ch from hook. Sc 1. Turn. (2 sts)
2.- 10. Ch 1. Sc into same st. Sc 1. Turn. (2 sts)(Don’t turn after the 10th row)
11. Sc in same st. Turn 90 degrees. Work 8 sc across the side. Sc 2 in last st. Sc in the other corner. (12 sts) Tie off, leave a long tail.
Construction:
Using either tail of your toe strap and a yarn needled, sew the strap in place, going in and out through both loops in the end of the strap and both loops on the side of the sole. You can place the strap up or down to suit yourself, but I placed mine directly in front of where the connector toe piece connects with the sole.
To attached the toe piece, put about 8” of yarn on your needle. For the right shoe, find 1 st to the left of the middle dc in the sole (for the left shoe, find 1 st to the right). Wrap the yarn over and under that dc st to give it a firm hold, (but keeping the yarn loose) going around that stitch with your needle and around the toe piece. I do it about 3 times so there are only 3 pieces of yarn between the toe. Tie firmly on the bottom to secure it in place.
Credits: www.whistleandivy.com
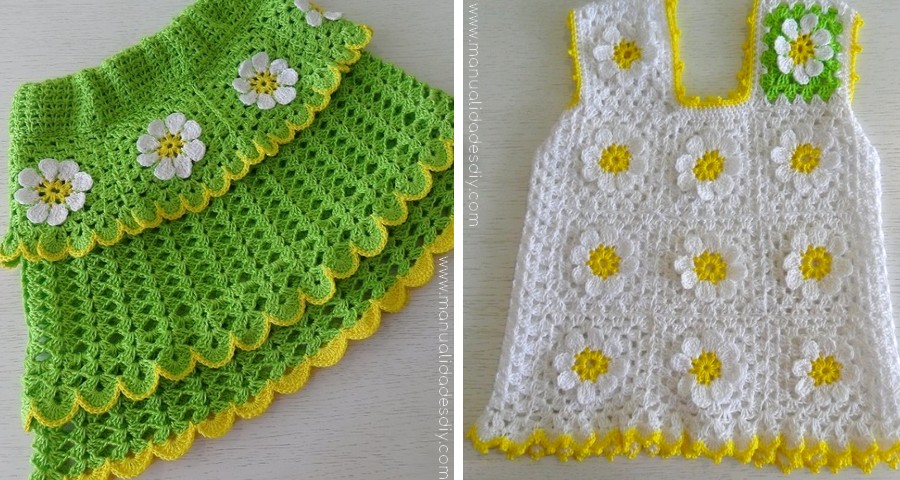
Crochet skirt and blouse set for girl
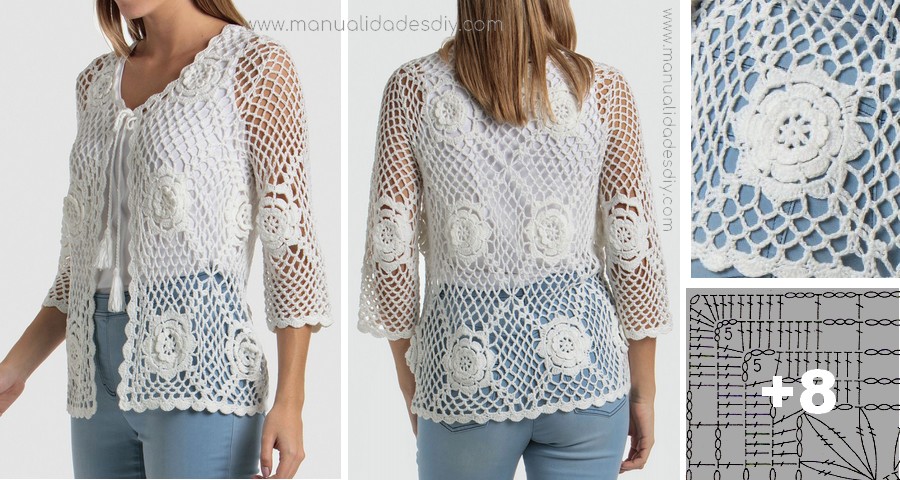
Creating a crochet coat whit a beautiful crochet pattern
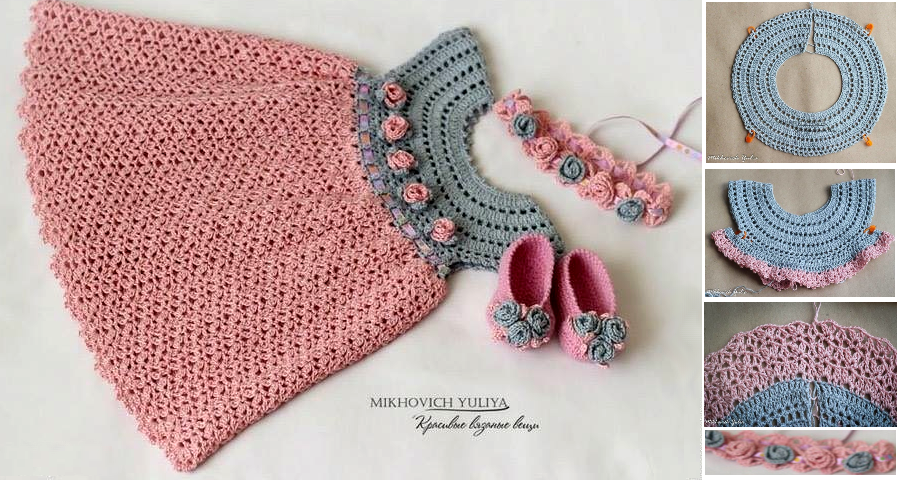
Gorgeous Crochet Girl Dress - Step by Step
Leave a Reply
Related posts