
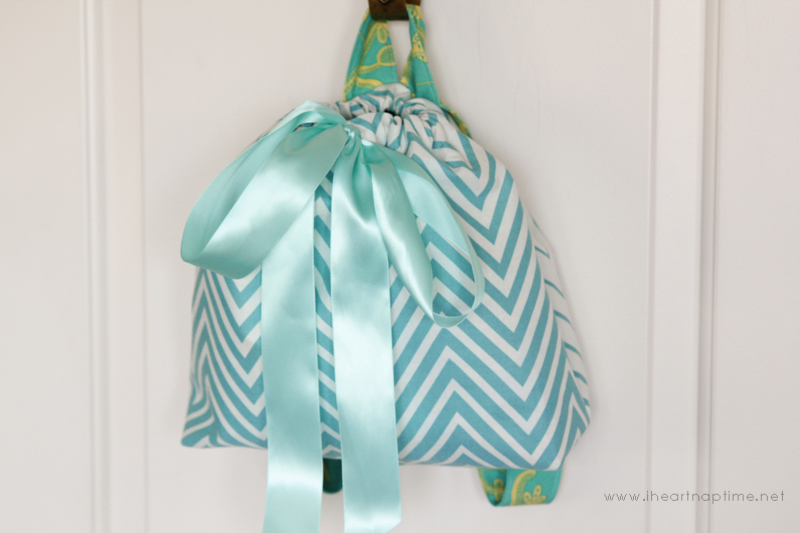
DIY Backpack
DIY-Backpack by Girl
School is starting back up this coming week and I have mixed emotions, as usual. This year, all three girls will be in school five days a week. I’m excited to have some quiet time while they’re having fun at school, but I’m also sad to have my babies growing up so fast. Today I have a fun and FAST sewing project for you – a DIY backpack perfect for your little ones heading off to their first days of school!
DIY-Backpack by Girl Inspired on iheartnaptime.com
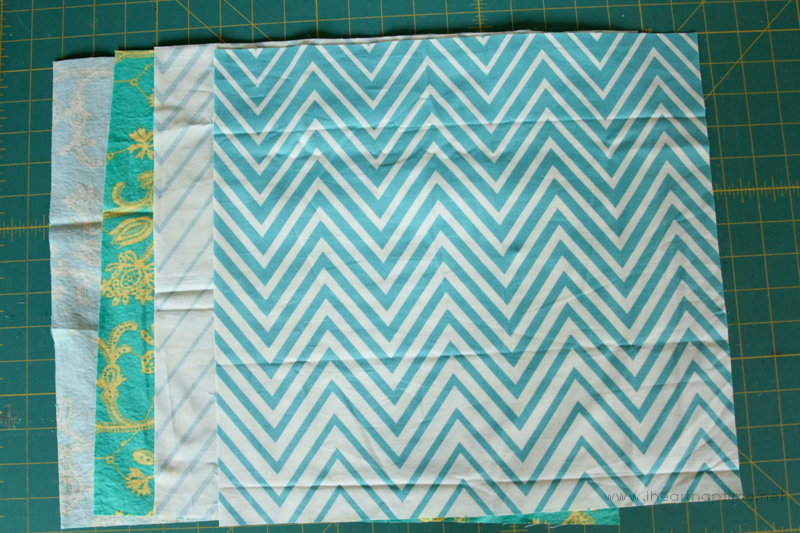
SUPPLIES:
- 1/2 yard fabric A
- 2/3 yard fabric B
- sewable fusible web such as Heat ‘n’ Bond Lite
- disappearing ink fabric marker
- 2 yards ribbon or drawstring
Step 1: From Fabric A (the outer main fabric), cut 2 rectangles, each measuring 15 inches wide and 14 inches tall. Repeat for Fabric B (the lining fabric). Iron well.
Step 2: Cut two pieces of fusible web measuring 14″x15″. Iron the fusible web onto the wrong side of each Fabric A rectangle, following package instructions. Wait for it to cool, then peel away the paper backing.
Step 3: Follow the package instructions to fuse each Fabric B rectangle (wrong sides together) to the Fabric A rectangles.
Step 4: Cut a 2″ x 2″ square out of the two bottom corners for each fabric rectangle (you now have just two fabric rectangles).
Step 5: Fold the top edge of each rectangle toward the wrong side by 1.5″ and press a crease in the fabric. Open the top edges back out.
Step 6: On the right side of ONE fabric rectangle, mark the center, just below the fold line. Use a disappearing fabric marker.
Step 7: Sew two parallel buttonholes 3/4″ in length. Place the top of each buttonhole just below the mark and to either side of the center mark. Be sure that the fold you previously made is turned up and out of the way so that you are not sewing through it on the backside. Use a seam ripper to open up the buttonholes before proceeding. If you need help making a buttonhole, you may find this buttonhole video tutorial helpful.
Step 8: Lay the two rectangles right sides together on your work surface. Match the sides and bottoms. Sew along each side and across the bottom using a 1/4″ seam allowance. You can also serge these seams for faster work!
Step 9: With the backpack still right sides together, open up the square hole in the bottom corners. Bring the bottom seam up to meet the side seam so that the open squares now form a line across as shown in the picture above.

Step 10: Sew across that open line, closing up the corners and forming a squared off bottom to the backpack. Repeat on the other side.
Step 11: Turn the back right side out and iron as needed. Refold the top edge to the wrong side along the creased line you made in Step 5. Stitch about 1.25″ from the top edge, all the way around the top, to form a casing. Be sure you are catching the folded edge on the underside.
Step 12: Straps – Cut a 6″ wide by 44″ long strip of Fabric B. Press each long side in toward the center. Fold over again to make a strip of fabric with raw edges enclosed and four layers thick.
Step 13: Tuck the short ends in before folding the fabric into the strip and sew along the edge all the way around the strap.
Step 14: Fold the strap in half and note the center point. Mark 3″ down from the center point on the strap.
Step 15: On the back side of the backpack (opposite the buttonholes), place the center loop of the strap along the casing stitch line. Stitch the strap in place, as shown.
Step 16: Loop the straps down the backpack and pin the ends in place about 1/4 of the way up the back of the backpack and spread out to your liking! Stitch a small rectangle to secure the ends on the backpack. Repeat for the other strap.
Step 17: Use a safety pin to thread desired ribbon or drawstring through one buttonhole, around the top of the backpack, and out through the other buttonhole. Cinch and tie into a bow (or use a knot). Trim excess and you’re done! Backpack is ready to go!
Good job!! Now you have something extra special to send with your little one on their first day of school. If you want to make a larger backpack, just follow the same instructions, but increase the size of the rectangles! These instructions will give you the perfect backpack for a preschooler! Be sure to stop by Girl. Inspired. and check out what we’ve been up to!
Free Crochet Pattern Blanket - Square Afghan
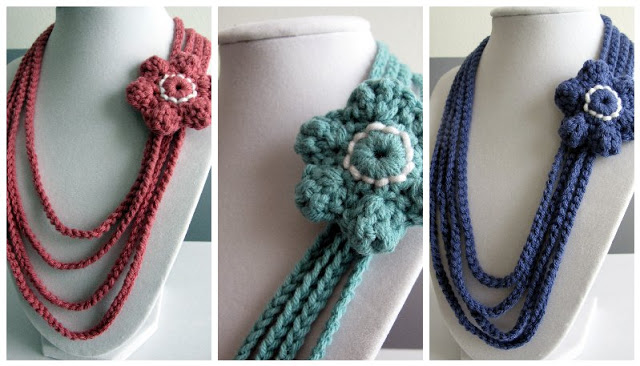
Crochet necklace with flowers
African Flower Crochet Pattern
Leave a Reply
Related posts