
How to crochet slippers with flip flops soles
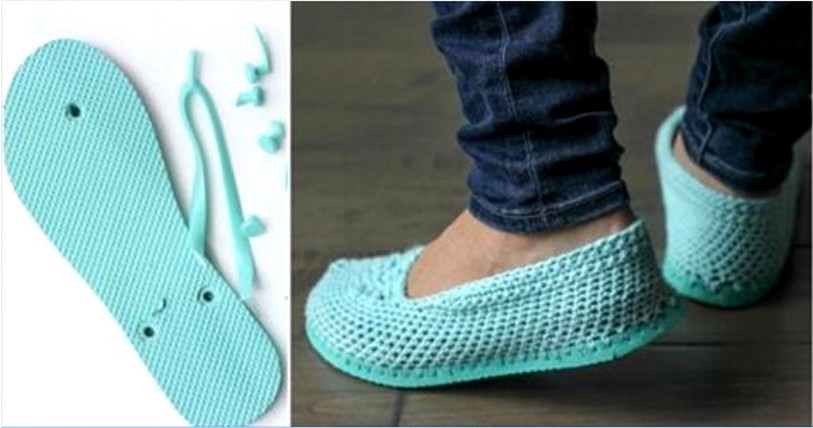
Crochet your own sandals
Do not miss this great tutorial, and learn to make your own crochet sandals. In addition to beautiful and economic, they are very simple to manufacture, making them ideal for both adults and children.
Crochet sandals only bring advantages, improve adherence foot, relieving the tension of the fingers and holding the heel. Cotton yarn crochet, make these sandals, perfect for warmer weather.
Cotton yarn and a flip flop sole make this free crochet slippers (house shoes) pattern perfect for summer.
The flip flop sole makes these a little more substantial than regular crocheted slippers and perfectly grippy to scoot around your house. This pattern would even work to make crocheted shoes to wear outside.
Materials:
• B /2.5 mm hook
• G /4.25 mm hook
• Approximately 120 yards worsted weight cotton
• one pair of flip flops (One size smaller than you wear normally)
• scissors
• 2 stitch markers
• sharp tool to poke holes in the flip flops
ABBREVIATIONS – US TERMS
ch – chain
hdc – half double crochet
sk st – skip
sl st – slip stitch
sc – single crochet
Using your sharp instrument, poke holes every 1/4 – 1/3 inch around each flip flop sole. You want the hole to go at an angle from about the middle of the way down the sole to about a ¼” into the top of the sole. It’s important to make your holes far enough from the edge that the yarn won’t rip through the rubber when you create your first row of crochet.
SLIPPER SIDES AND HEEL
Using smaller hook, attach yarn at the back of the heel by inserting your hook from the top of the flip flop toward the bottom of the sole, grabbing the yarn and pulling through to the top. Ch 1 through the loop you’ve created to attach the yarn to the flip flop.
Row 1: Using smaller hook, sc into each hole around entire sole.
Rows 2-9: With larger hook, cont in sc around the sole. (Crochet in the round. You don’t need to sl st and ch 1 at the end of each row.)
Place two stitch markers in the middle of the sole. This is where the back heel “lip” of your slipper will taper off to. Do not turn work, continue with the rest of row 9.
Row 9 cont: sc in each sc to 1 stitch before first marker, sl st in last sc, turn.
Row 10: ch 1, sk first sc, sl st in second sc, sc in each sc until 1 stitch before marker (on the other side now) sl st in last sc, turn.
Row 11: ch 1, sk first sl st from previous round, sl st in next sc, cont sc in each sc until 3 stitches before marker sl st, turn.
Row 12: ch 1, sk first sl st from previous round, sl st in next sc, cont sc in each sc until 3 stitches before marker sl st, turn.
Row 13: ch 1, sk first sl st from previous round, sl st in next sc, cont around entire slipper in sc, past where this row started, until you reach the back of the heel where you originally tied on, sl st 1. Fasten off.
SLIPPER TOP
Cluster = 3 hdc in one stitch
Find the approximate midpoint of the front of the slipper. Place stitch markers 10 stitches apart at the toe.
Row 1: (*See note below for help.) With the toe facing toward you, attach the yarn at the right marker. sl st into next sc (left of the marker), ch 2, sl st back into sc where right marker is, 2 hdc in same sc you began in (cluster made), sk 2 sc, 3 hdc in next sc, sk 2 sc, 3 hdc, sk 1 sc, sl st into marked sc, sl st in next sc (up the left edge of the slipper), turn..
Row 2-4: 3 hdc in third stitch from hook, sk 2, 3 hdc in next hdc, sk 2, 3 hdc in next hdc, join to edge of slipper with a sl st in the 2nd stitch above where the previous row attached, sl st in next sc up edge of slipper, turn.
Row 5: 3 hdc in third stitch from hook, sk 2, 3 hdc in next hdc, sk 2, 3 hdc in next hdc, join to edge of slipper with a sl st in the 2nd stitch above where the previous row attached.
Row 6: cont in sc around entire slipper until you return to where you began this row, fasten off.
Repeat pattern with second rubber sole.
Weave in ends.
Source: makeanddocrew.com
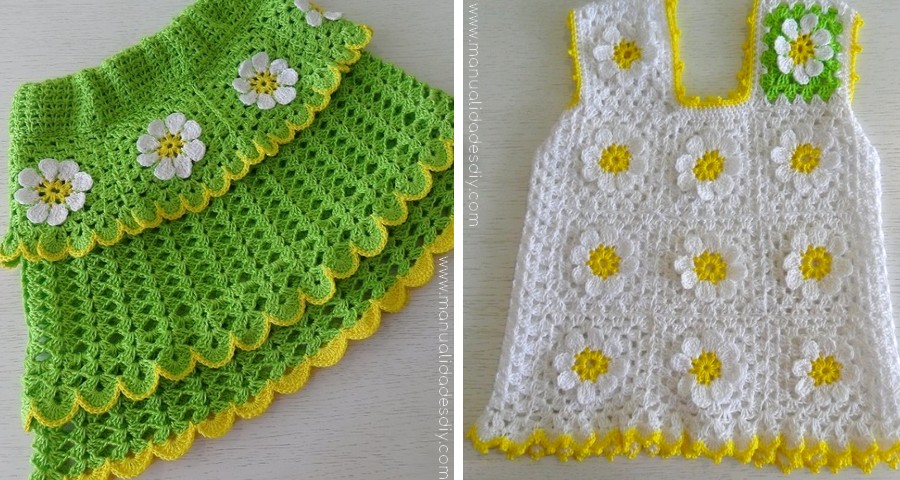
Crochet skirt and blouse set for girl
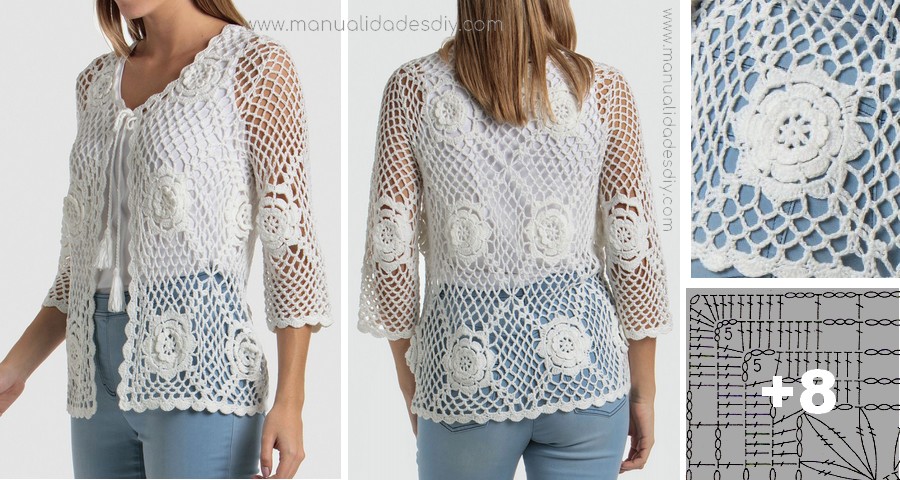
Creating a crochet coat whit a beautiful crochet pattern
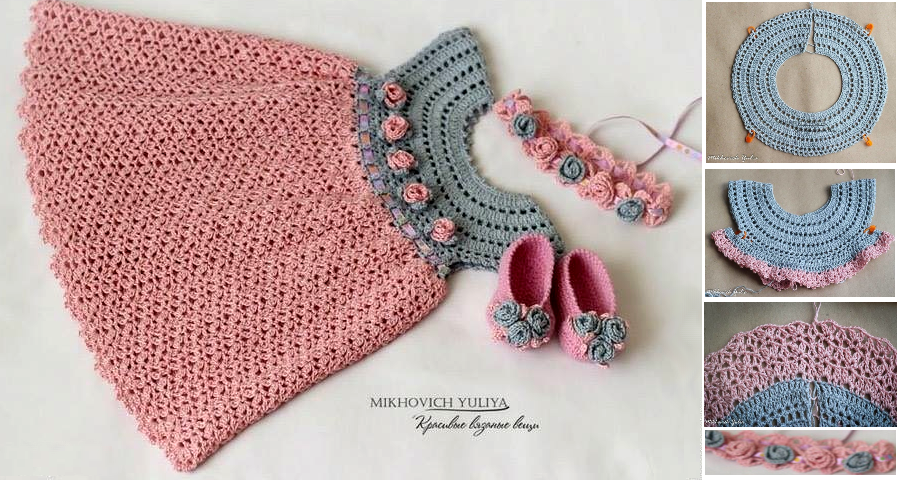
Gorgeous Crochet Girl Dress - Step by Step
Leave a Reply
Related posts