
The DIY Guide to Wallpapering Feature Walls
Guide to Wallpapering Feature Walls
The DIY Guide to Wallpapering Feature WallsTastes change over time, so it is not surprising that the decor in our homes is constantly evolving. The trend for ultra-modern surroundings is not everyone’s cup of tea, but even in those rooms you will see twists on modern decor.
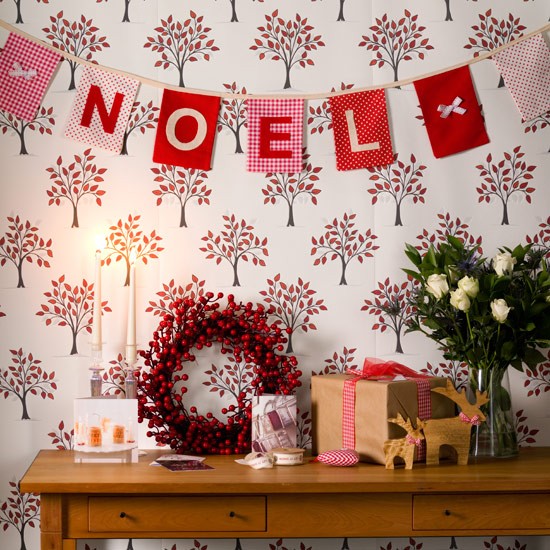
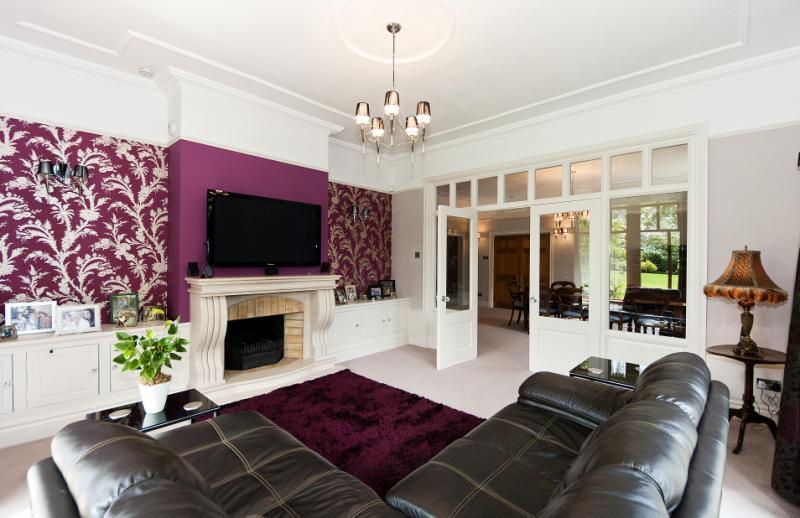
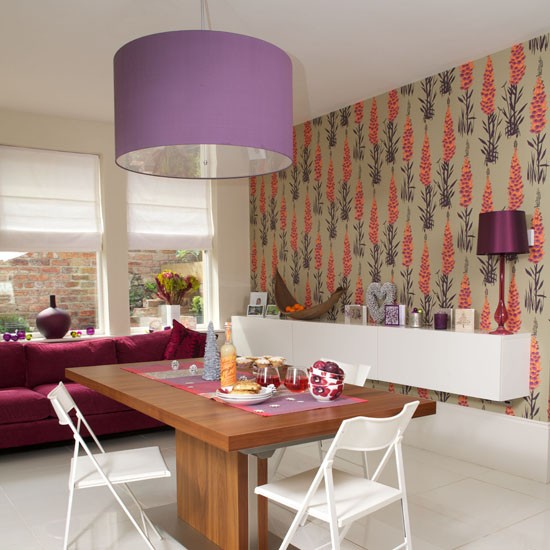
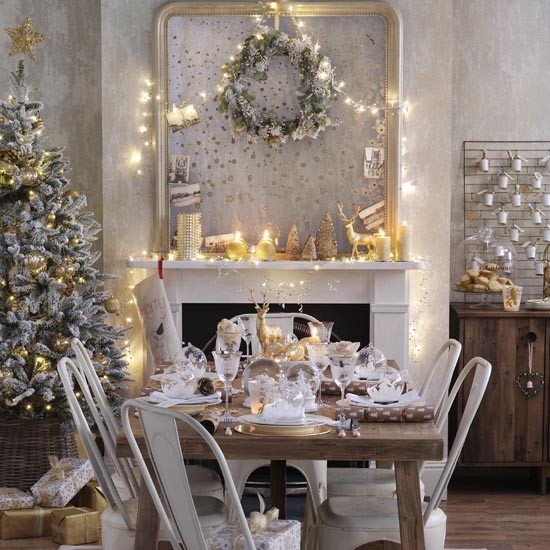
I am referring to the one wall that people choose to wallpaper to make it stand out from the rest and add some interest to what would otherwise be a very dull background for their artwork and furniture.
If you are thinking of taking on a wallpapering project, you have come to the right place. We will go through the process step by step so that with a bit of practice your project will look like it was done by a professional.
Here are the tools you will need for the job.
- Craft Knife
- Scissors
- Straight Edge
- Plumb Line
- Pasting Table
- Pasting Brush
- Smoothing Brush
There are three different wallpapering techniques where the only difference is the way you apply the paste. You can either paste the back of the paper, paste the wall, or dip pre-pasted paper in a tray of water, which makes the paste wet.

Technique
No matter how tempting it is to start in a corner of the room, resist it and hang the first piece of wallpaper in the middle of the wall. Follow this guide.
- Using a plumb line and pencil, mark a vertical line on the wall. You can use a spirit level instead if you prefer.
- Mix the wallpaper paste with the amount of water that it says on the packet and leave it to stand for a few minutes.
- Cut a piece of paper a few inches longer than you need.
- Apply some paste to the back of the paper, working from the middle outwards. Pay close attention to the edges.
- Allow the paper to soak for the recommended time.
- Hang the paper on the wall with an overlap at the top and bottom, following the vertical line that you marked earlier.
- Smooth the paper from the middle outwards with the smoothing brush. Work any bubbles outwards until they disappear.
- There are two ways to trim the top and bottom overlaps; cut them with a craft knife, or peel them back a little and cut them with scissors. Most people find using the scissors is best because the paper sometimes tears when using a knife, and then you must discard it.
- Match the pattern for the next piece. You must do that accurately, particularly if using one of the modern wall murals that are en vogue today. Novices should hold the paper against the wall so that the pattern lines up and then mark the top and bottom for cutting.
- Remove excess adhesive with a clean damp cloth.
- Hanging subsequent pieces is difficult because you must match the pattern. Before you brush the bubbles out of the wallpaper, you can slide it on the wall to get it in a perfect position.
There are numerous wallpapers on the market today so it’s always good to take time out and explore all options.
Just take your time and everything will be fine. Remember that the paste takes a long time to dry so there is no need to rush.
Many people find this exercise to be therapeutic. Put some music on and enjoy yourself, doing the best job you can. You will find it a very enjoyable task.
Leave a Reply
Related posts